baby alpaca meets knitting machine
February 10, 2015

I have been wanting to combine a specific baby alpaca yarn with a knitting machine for a long time. This past month, I finally got around to doing it! The yarn is thin, super soft, and knits so quickly in stockinette stitch on my machine. The finishing is what takes time. And also figuring out what exactly is going to be the shape, gauge, etc of the project.

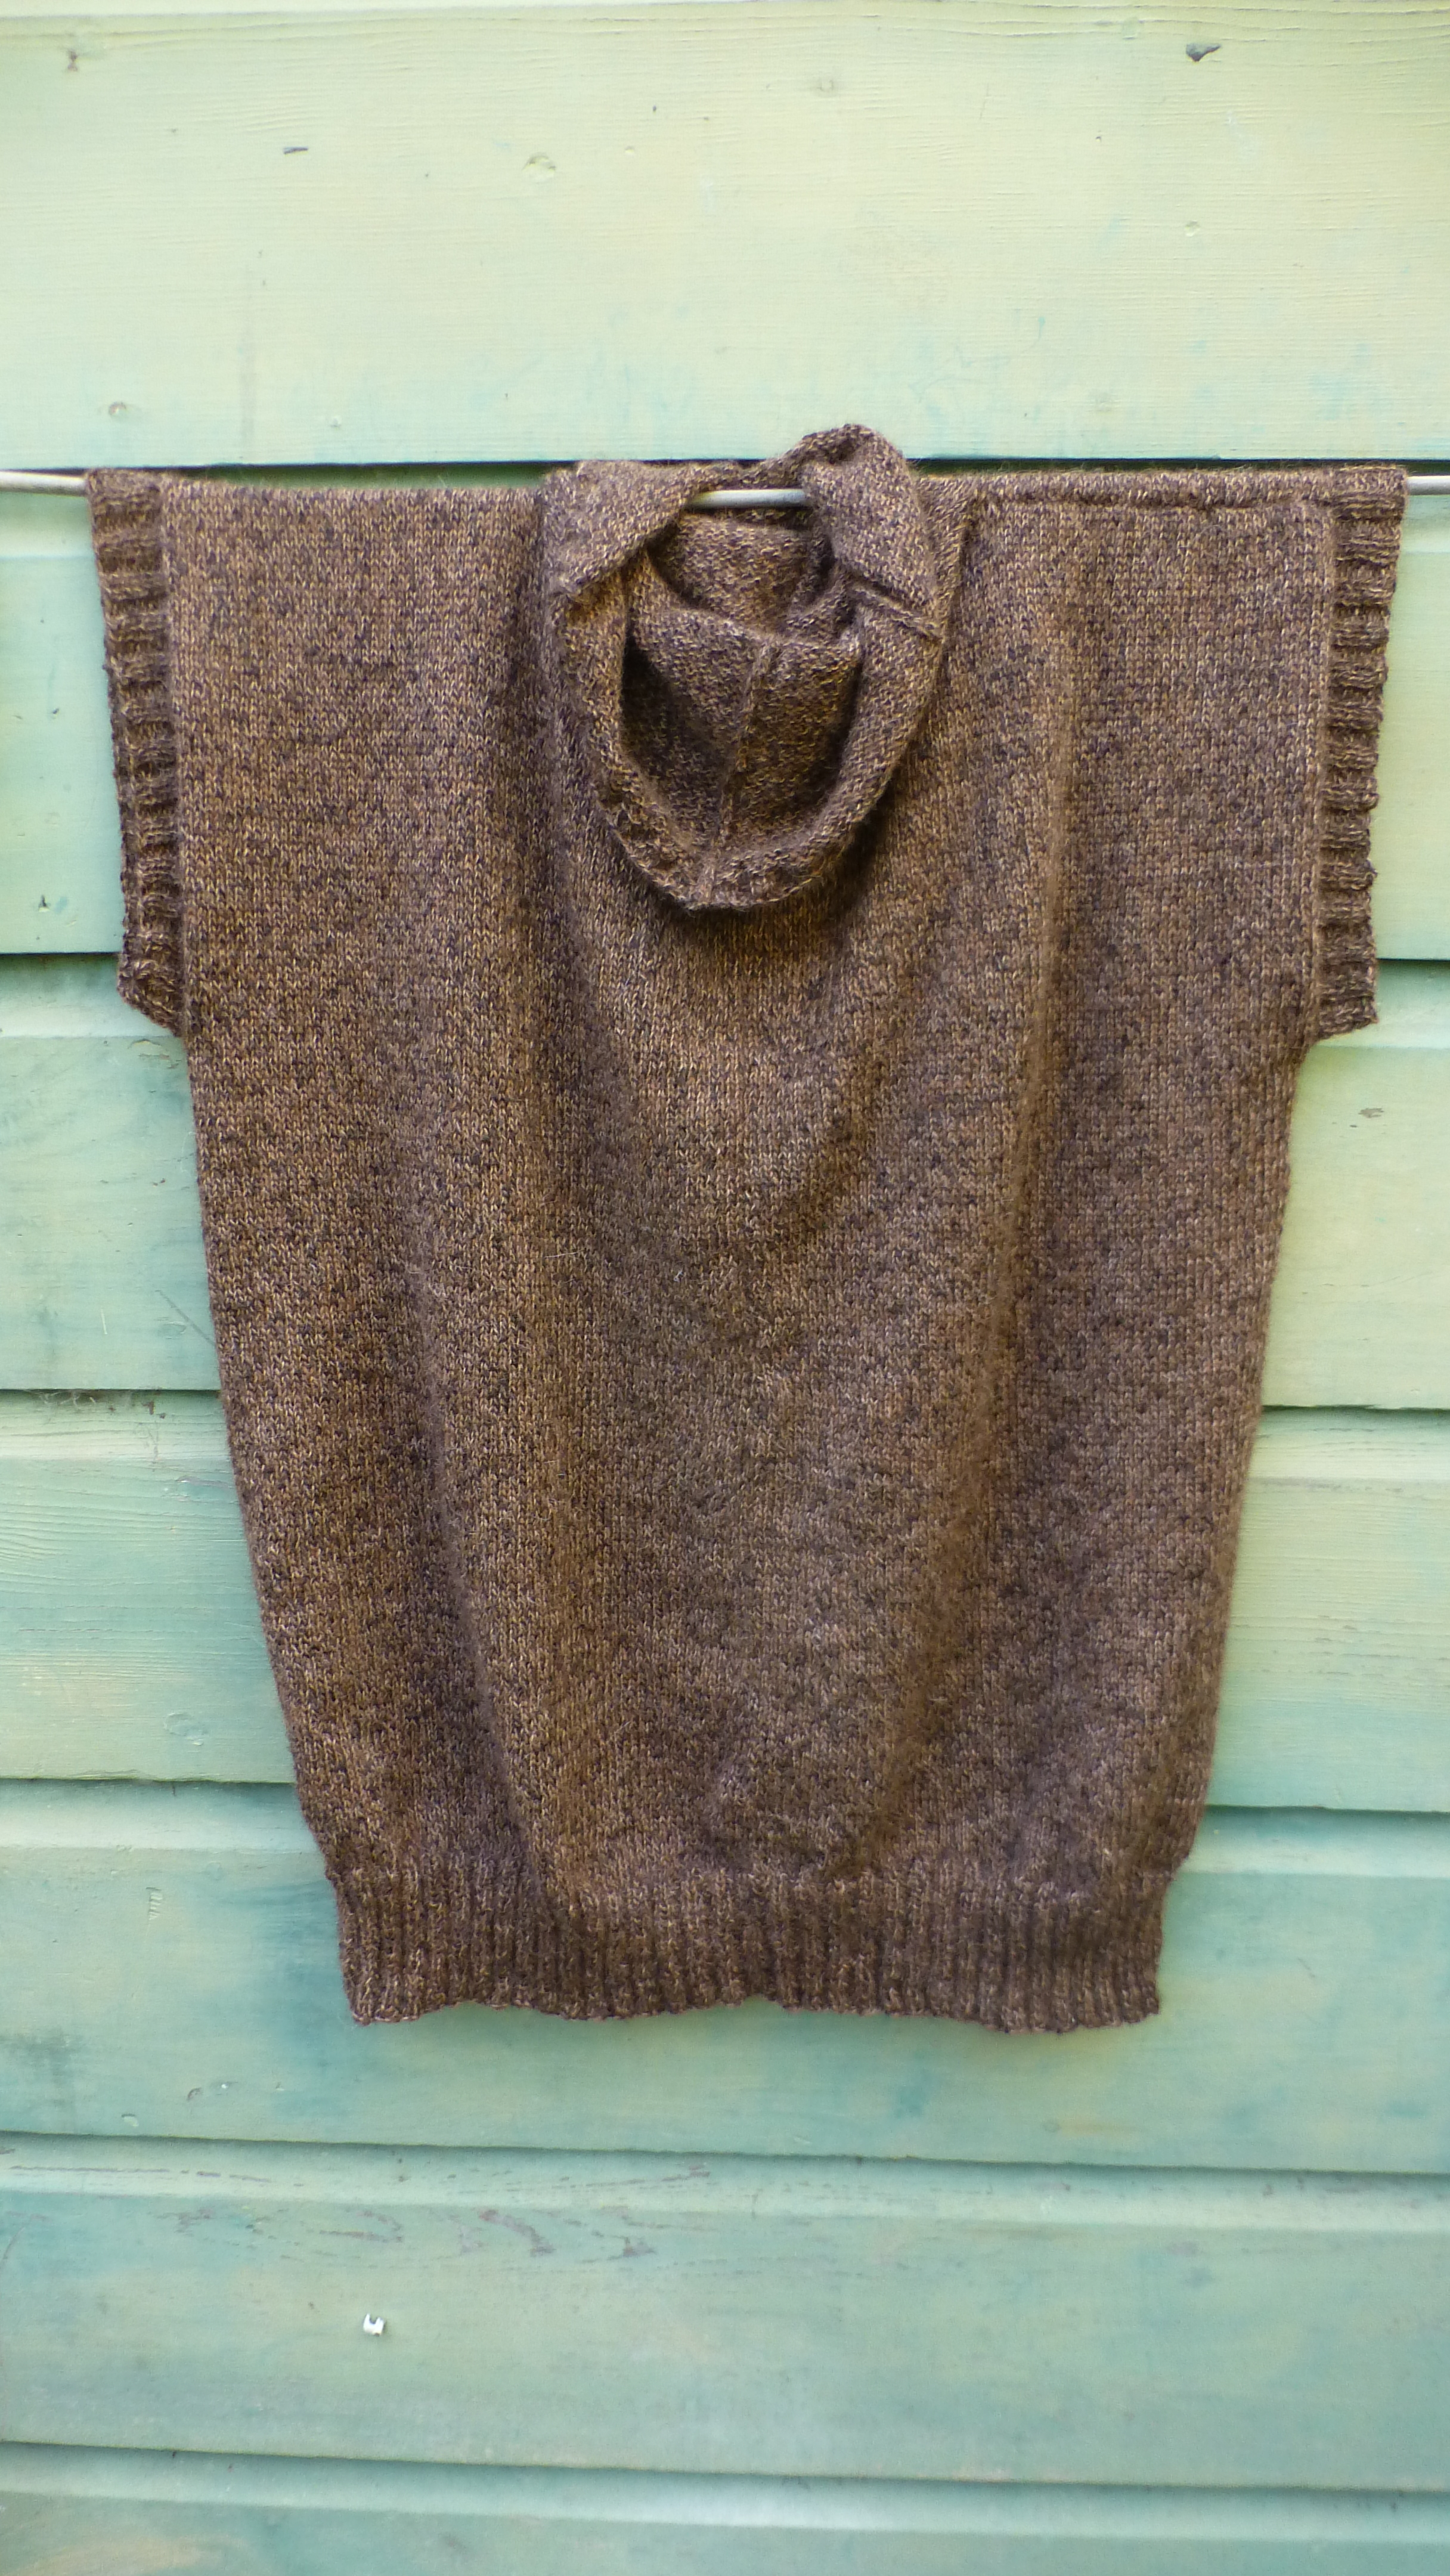
The poncho is knit slightly looser, on half step larger gauge on the knitting machine, and has a little more drape. It is a rectangle with a hole for the neck, and ribbing around the bottom.

The shape creates an asymmetrical drape, with the direction of the knitting stretching across the body diagonally. The ribbing at the bottom gathers the fabric very gently, and gives it a little weight and drape.
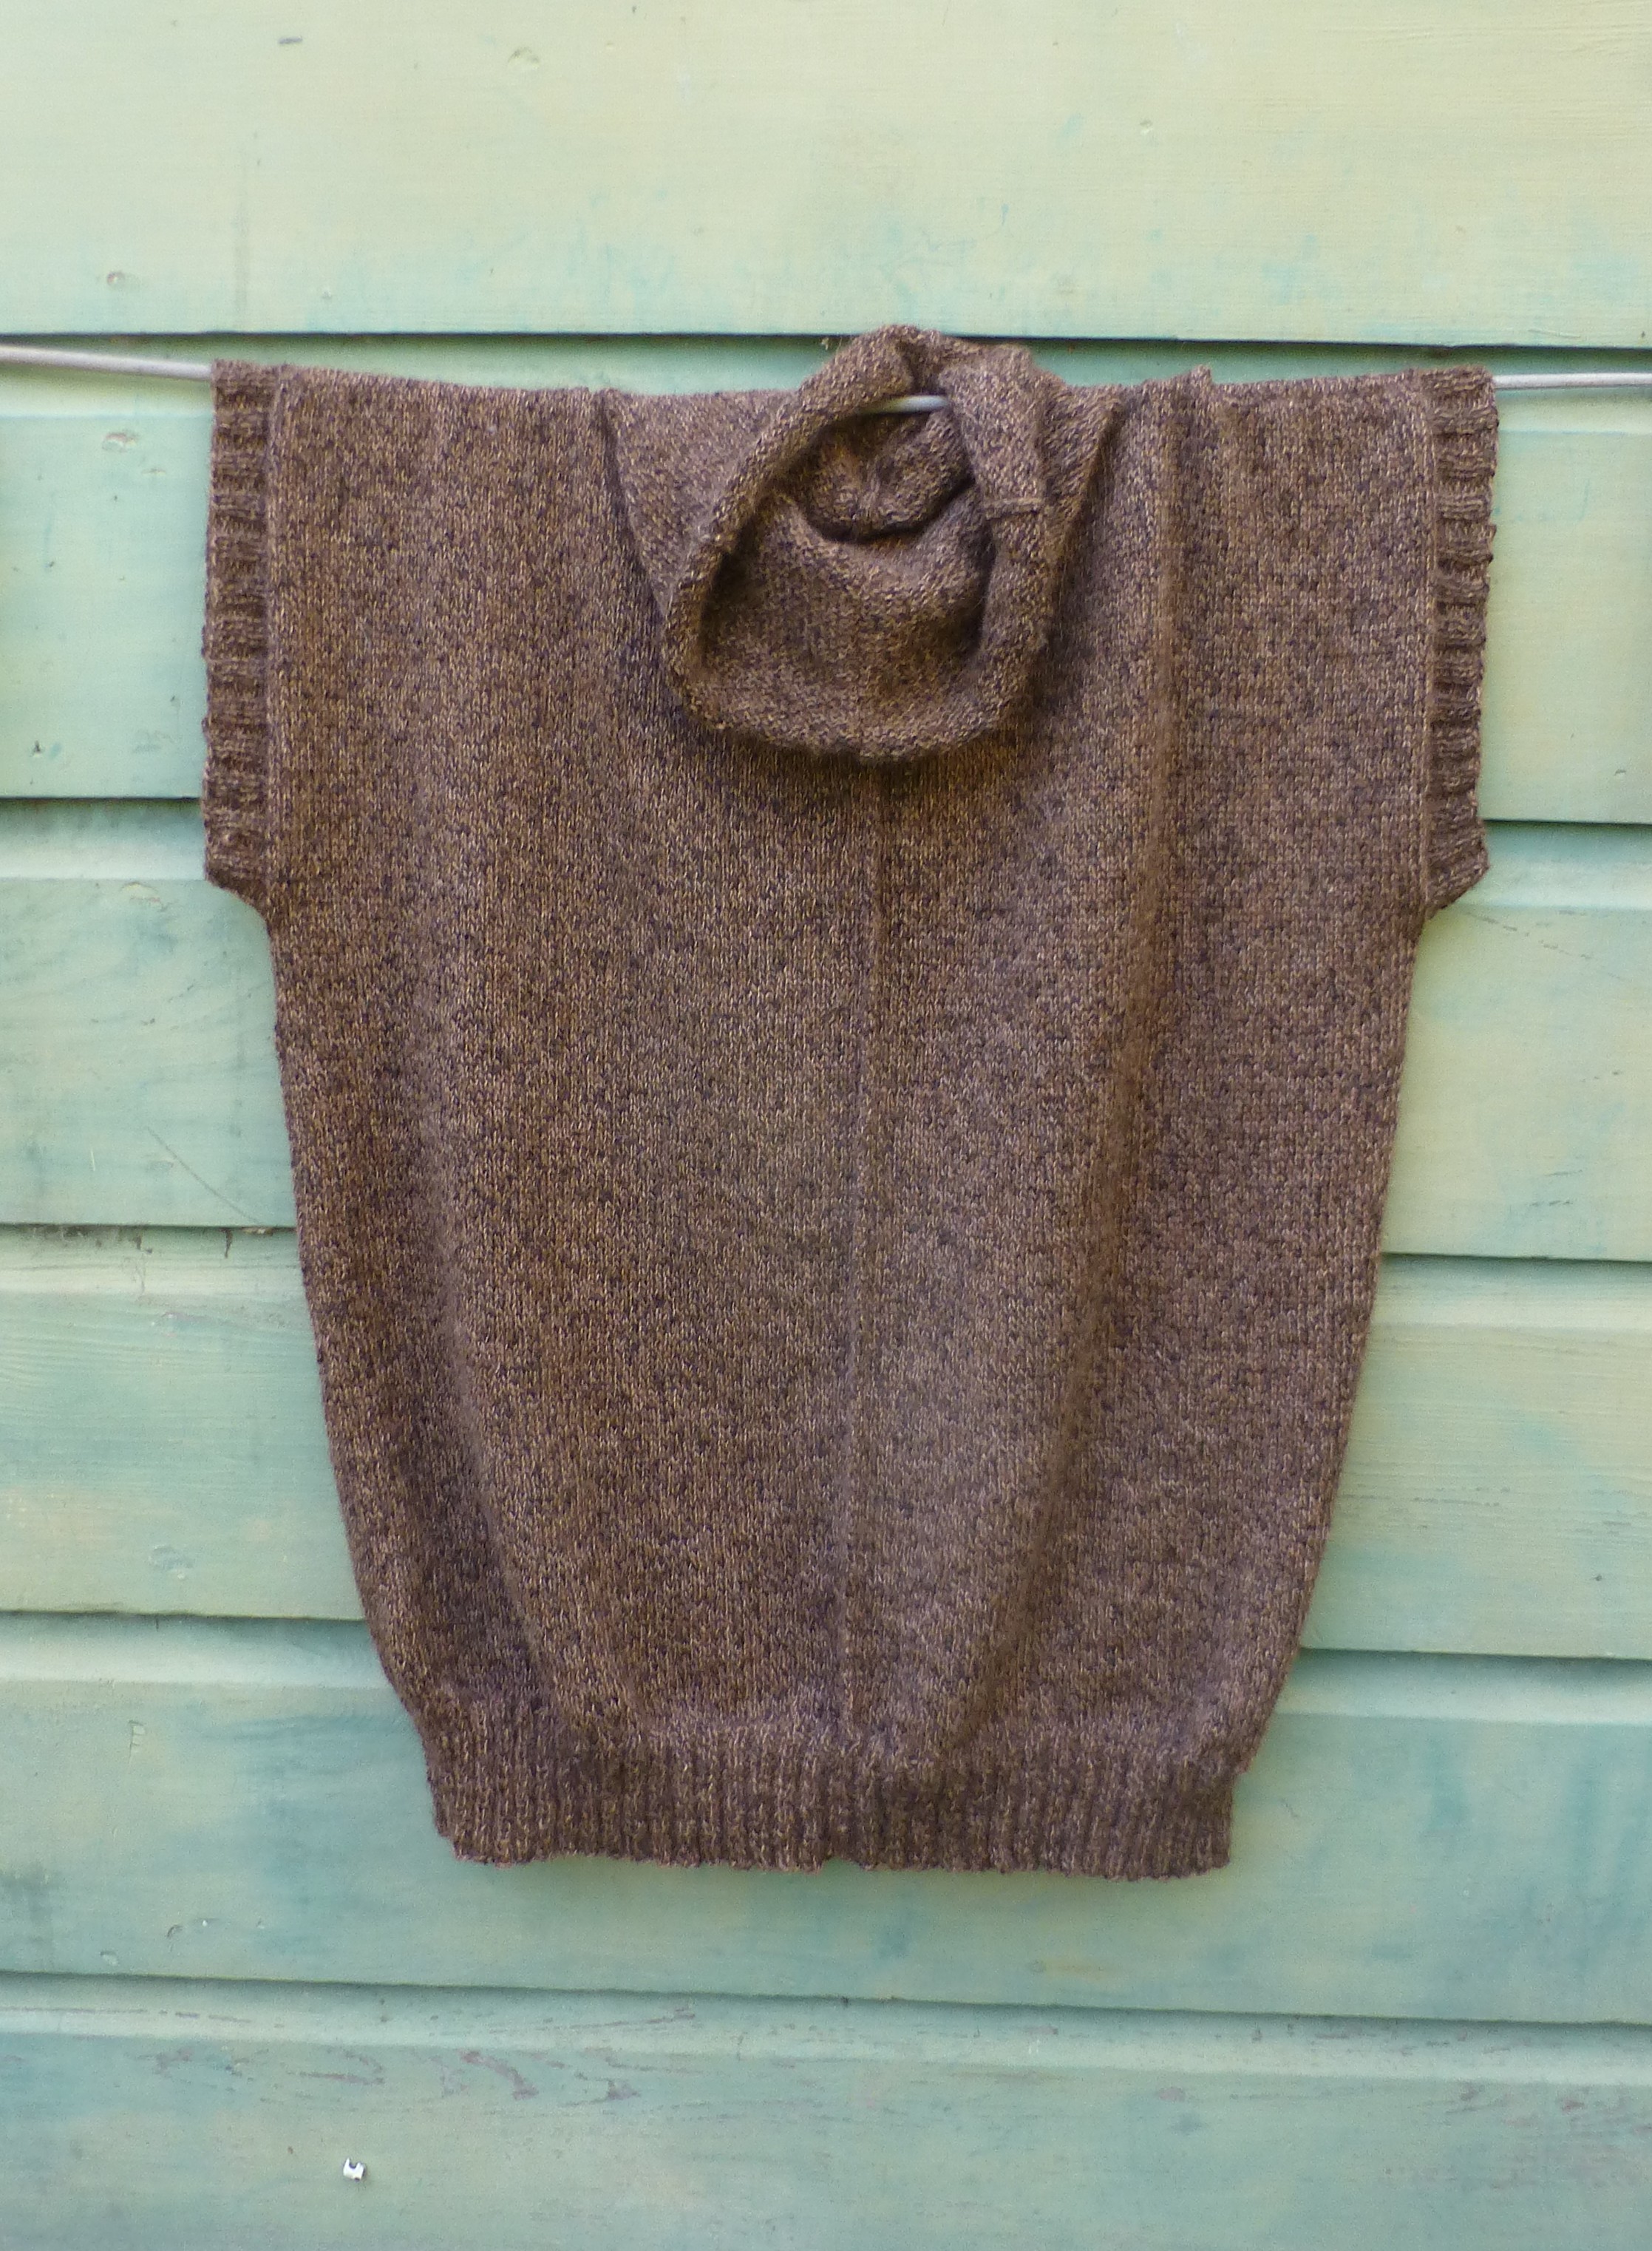
The tunic idea popped into my head part way through my progress on the poncho. I was playing with the fabric, and decided that I would like to make a garment that draped differently (a more straightforward up and down knit).

The sleeves are short, but allow for lots of movement of the arms. And the length of the vest contributes a lot to the overall warmth of the garment.
The tunic material is a tiny bit more firm than the poncho material, and more suitable for the shape. The tunic was knit in 4 pieces and then sewn together. The seams help to define the garment, and give it structure. The reversible seam down the middle of one side can be worn either on the front or the back of the garment.
Both the tunic and the poncho are available on my etsy site.
striped linen baby sweater
August 8, 2013

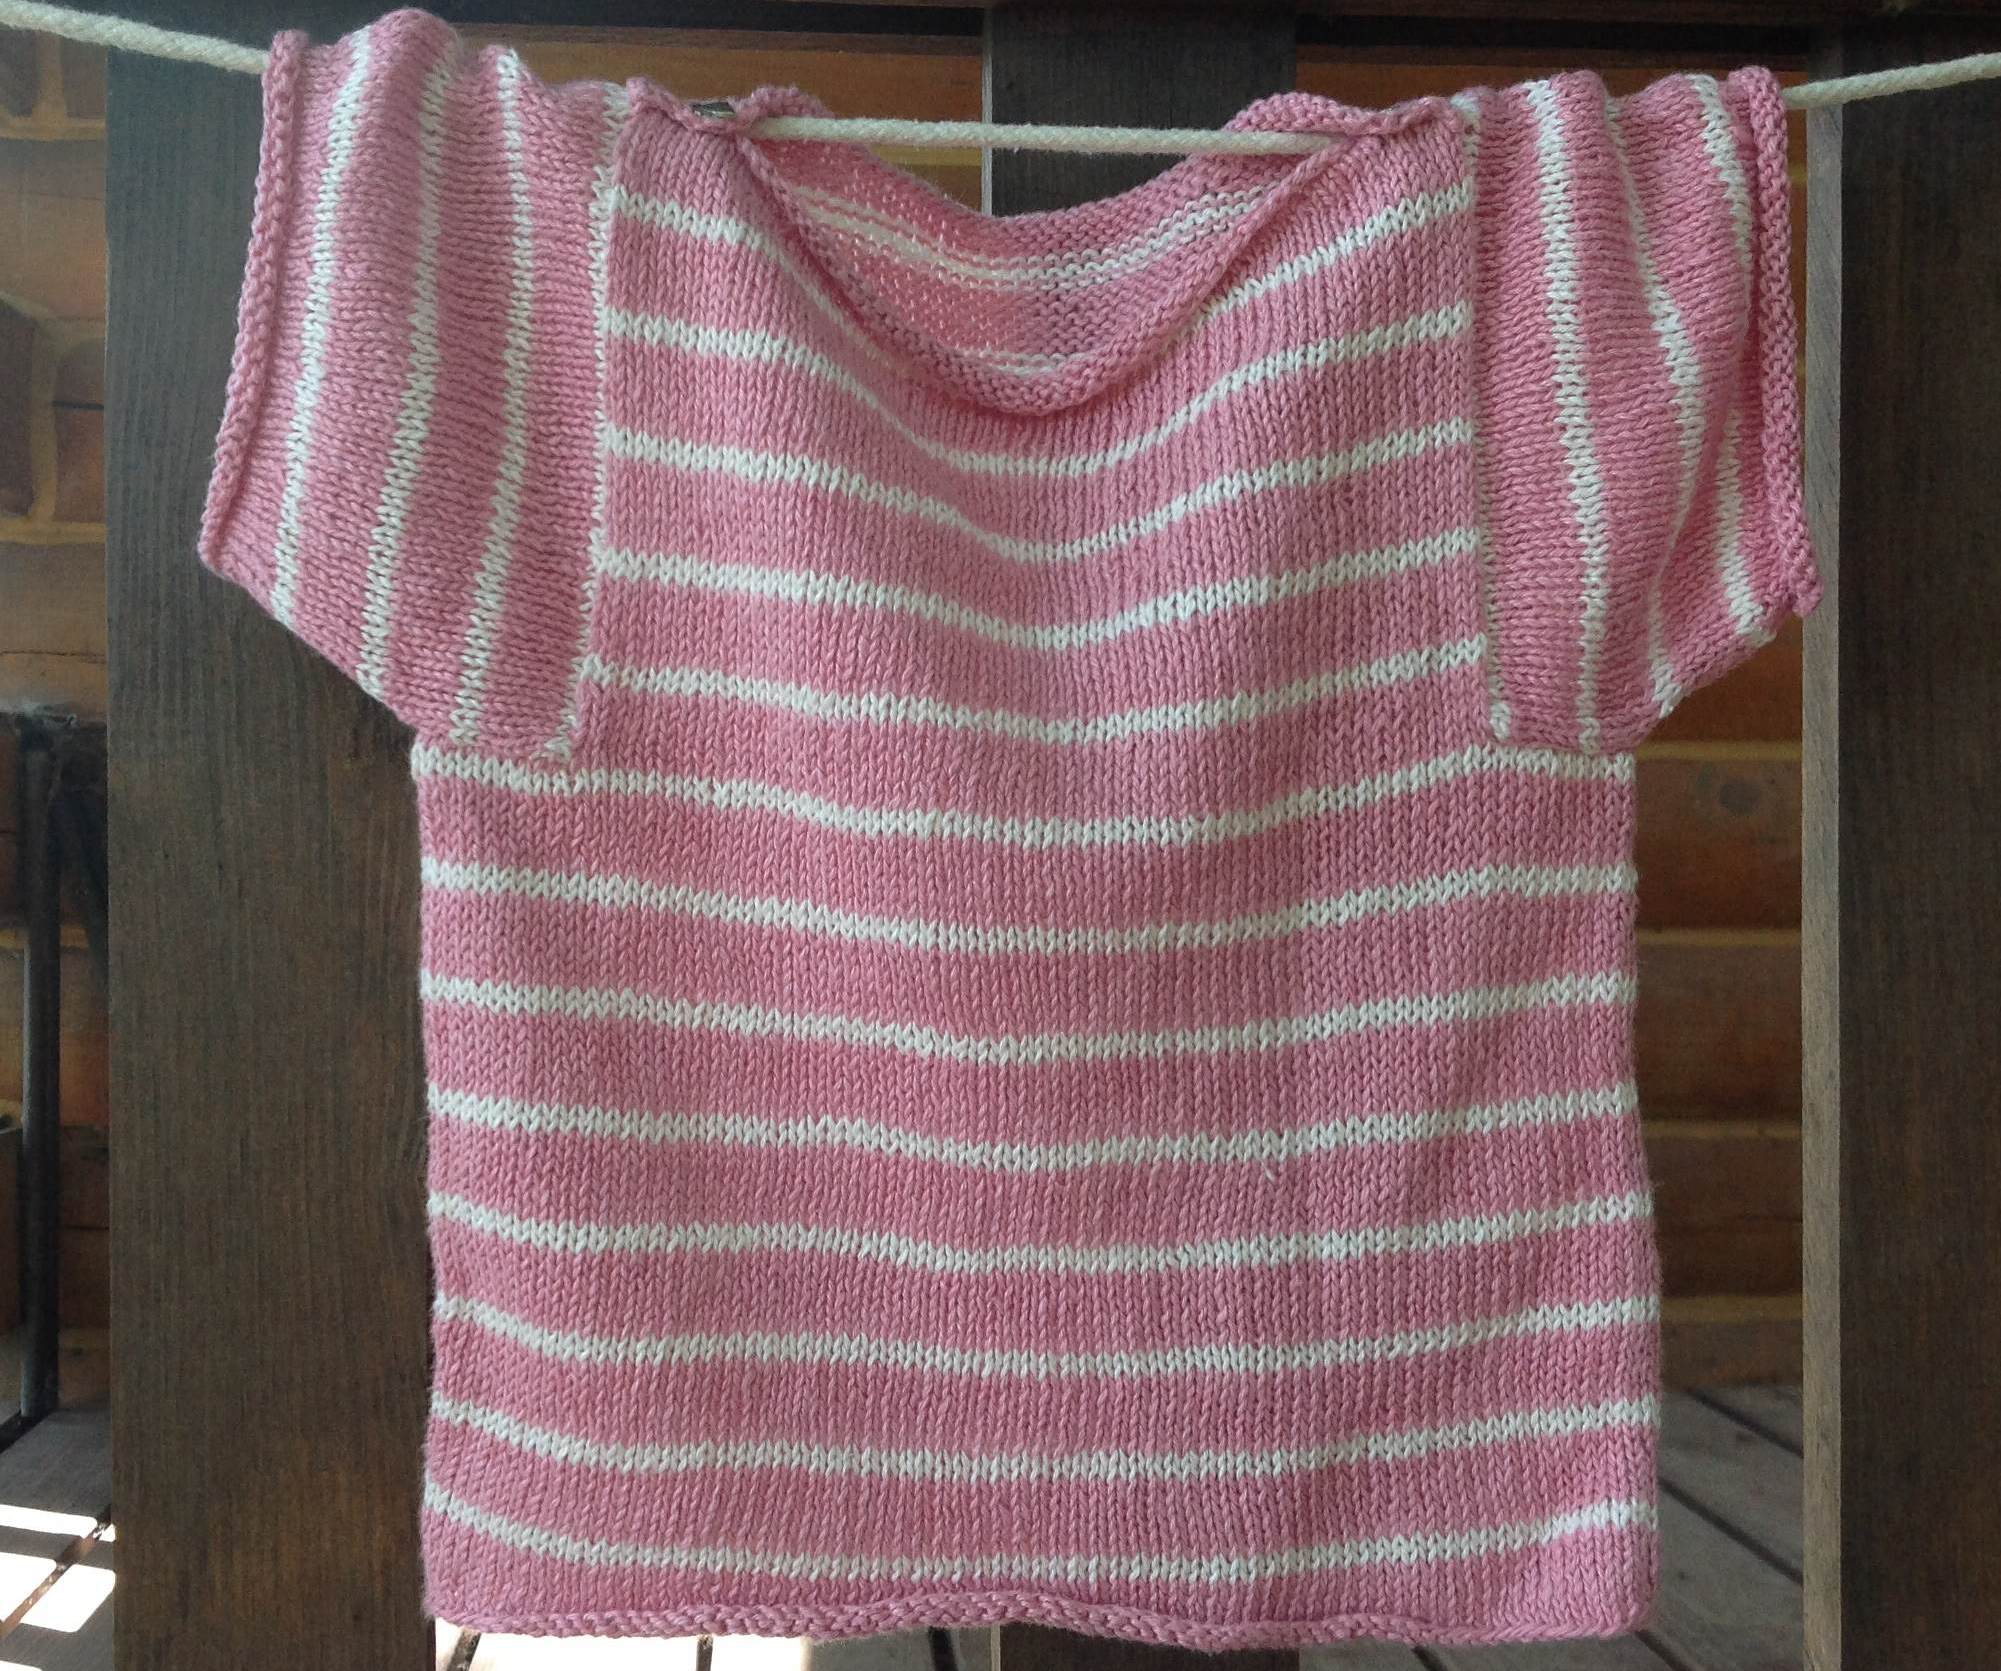
I am lucky as can be to have the most adorable nephew. This spring I was inspired to make something for him to wear. I was traveling in a hot climate, and the only yarn I wanted to work with was linen. This sweater design came up in my mind. The Striped Linen Baby Sweater pattern is available for sale on Ravelry.com through this link.
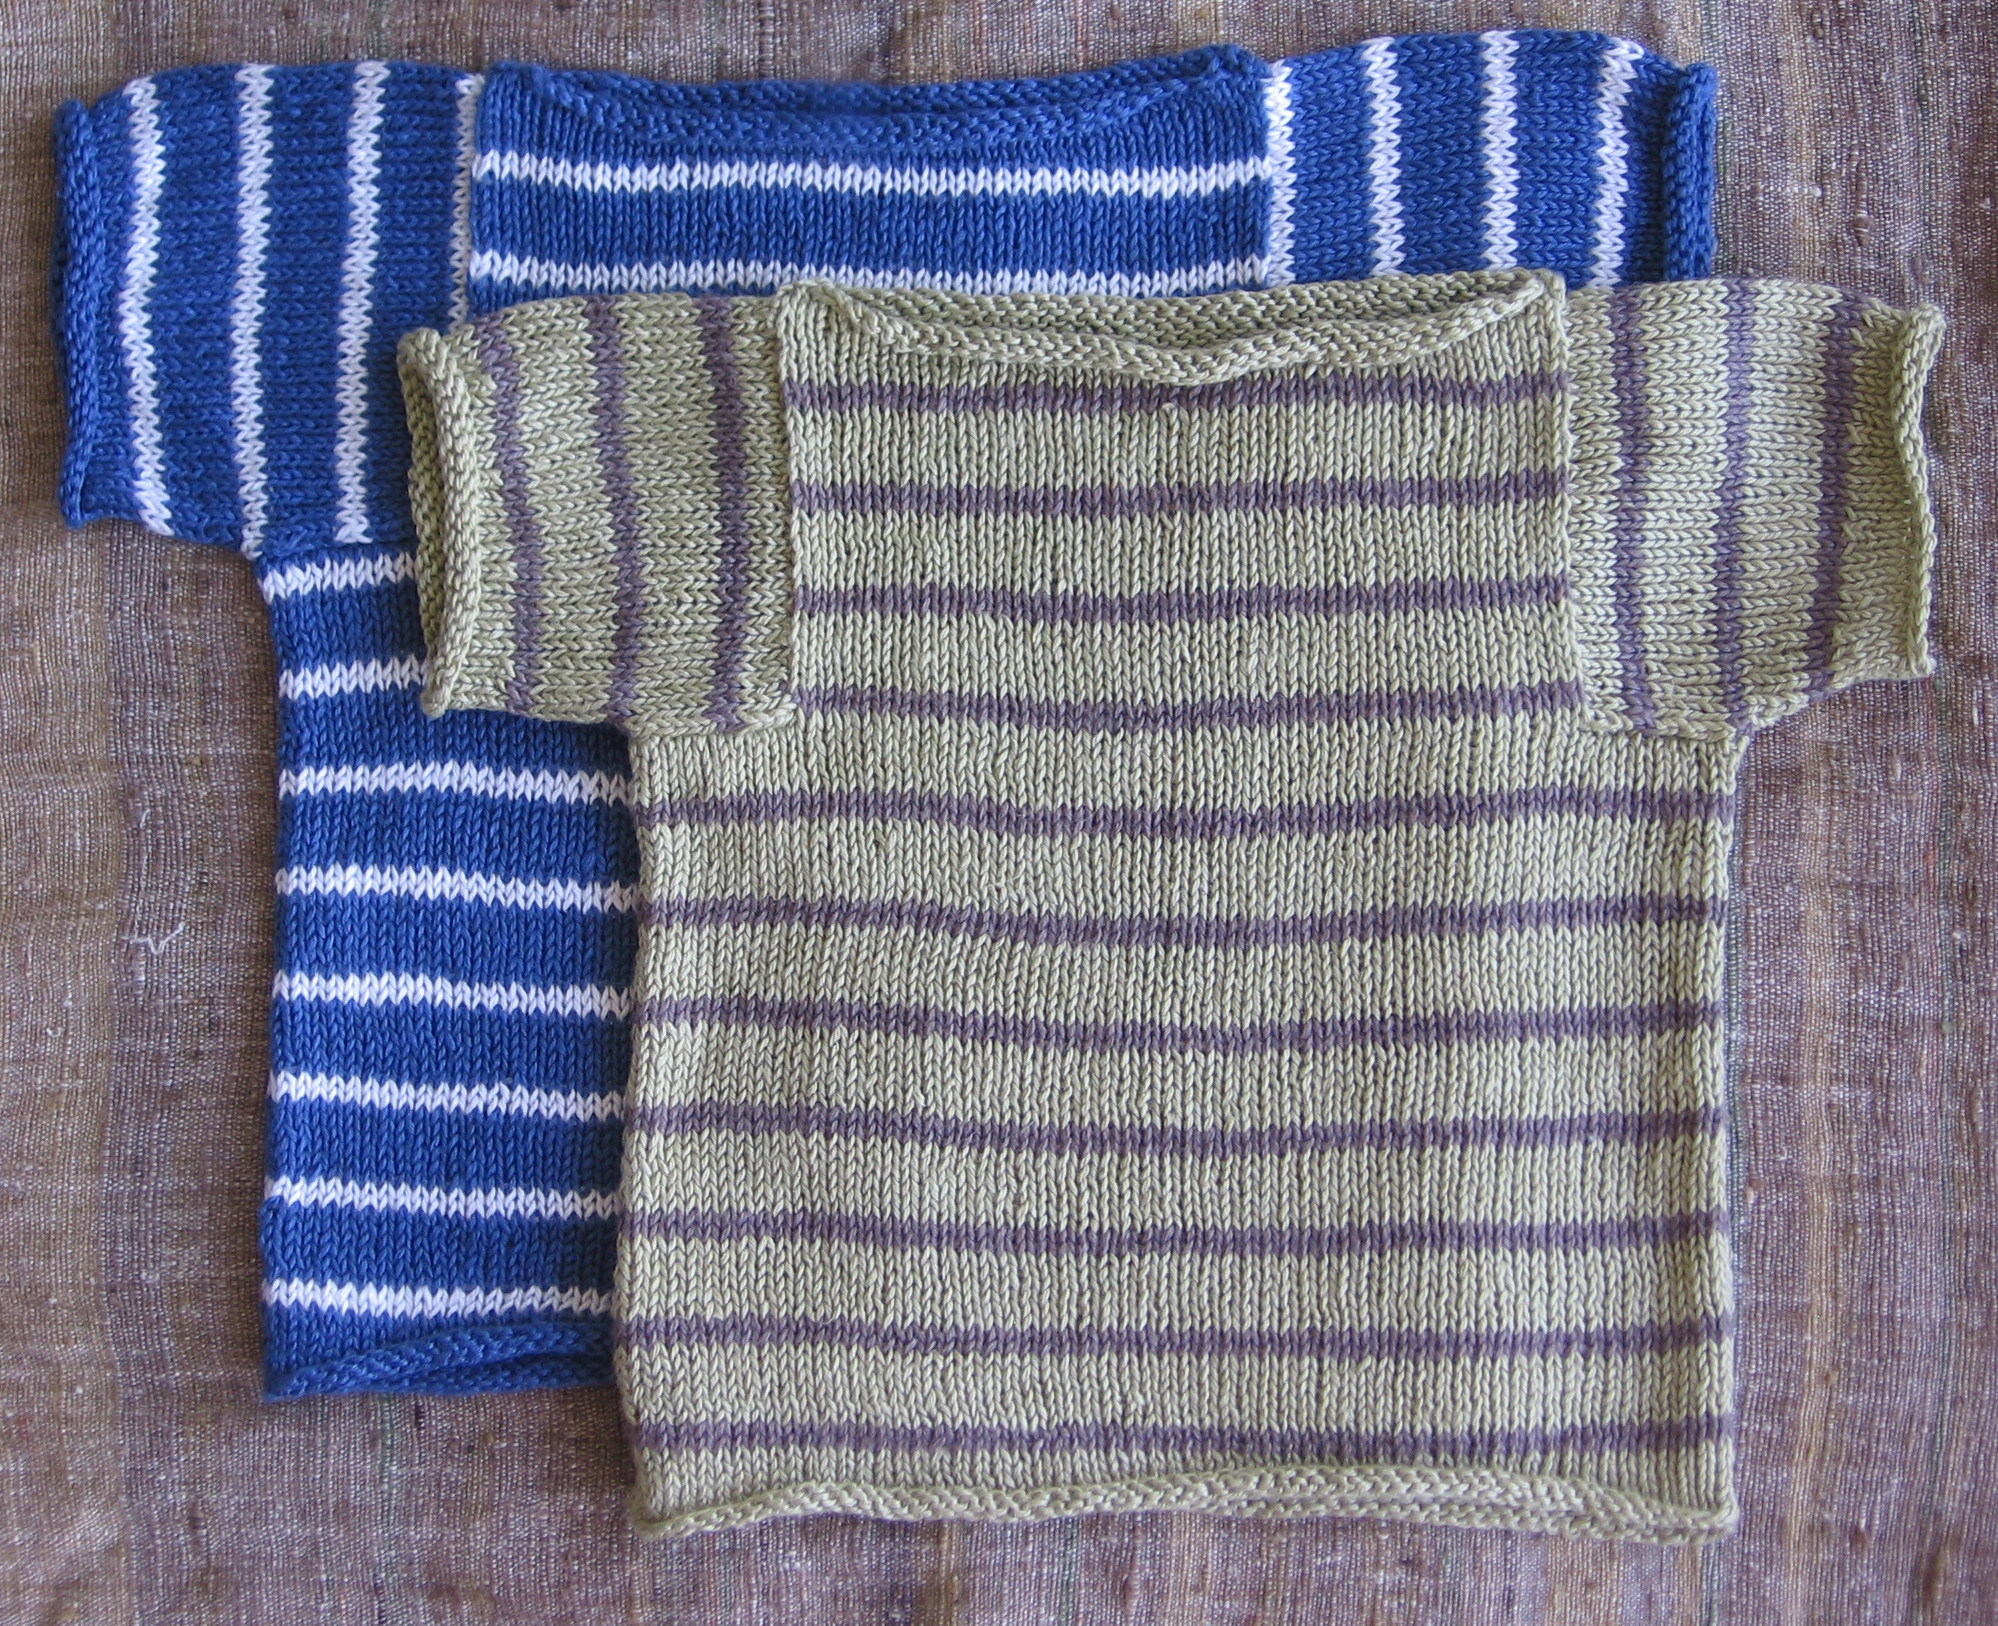
The construction is simple. The front and back are knit separately. This was done to give a little more structure to the sweater body. For this reason, I do love seams and well sewn mattress stitch.
The sleeves are picked up and knit from the body out. (There is less selvage at the armhole that way!) When I sewed the bottom of the sleeve to the shirt, I picked up as little material as possible to eliminate bulk.

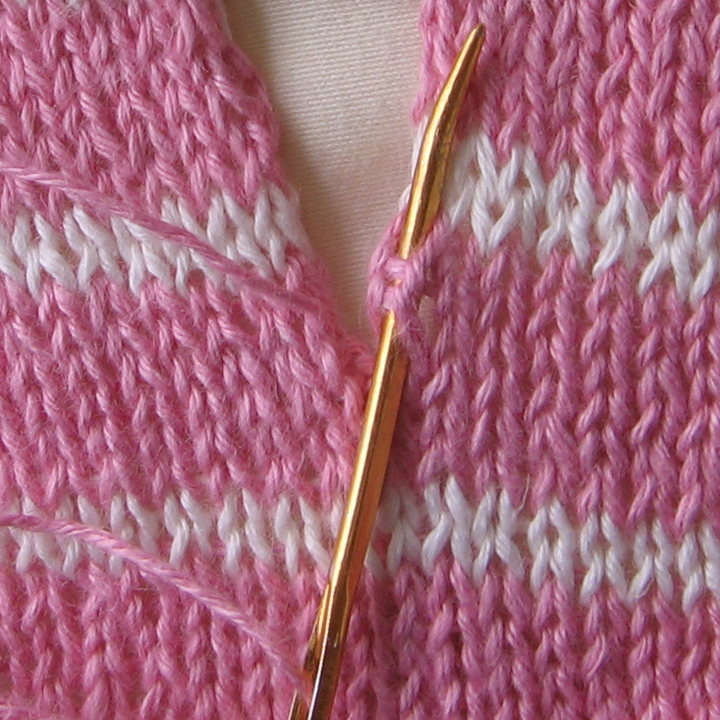
The first time around I didn’t add buttonholes, but when we tried the sweater on several children, the neck seemed a little too loose.
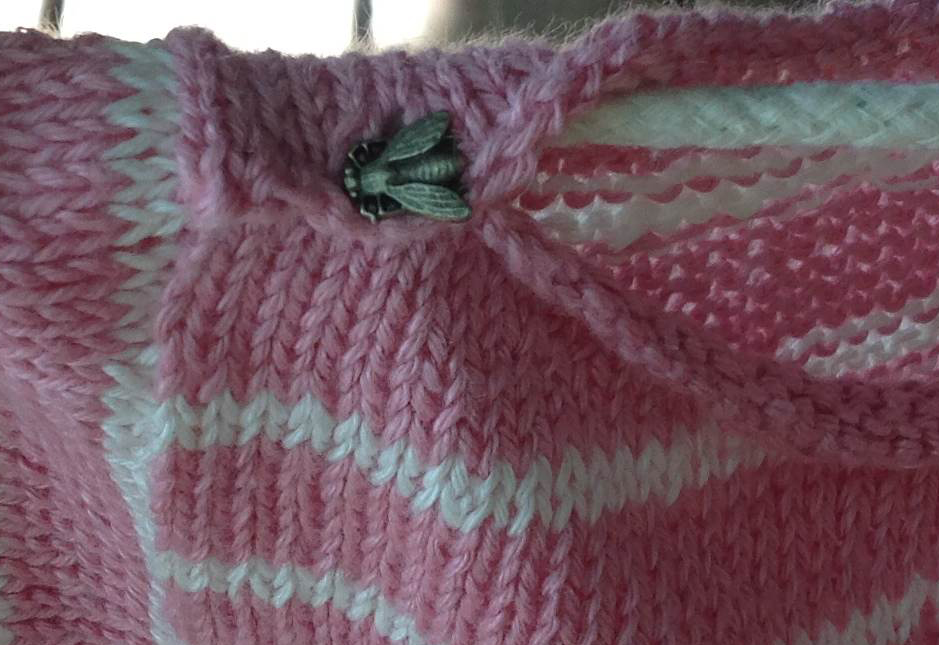
The buttonholes give the neck opening a little more stability. The neck is also shaped using short rows. This creates a gentle curve. Linen tends to be sturdy and a little stiff. To keep the neck and sleeve edges flexible, I cast off using Elizabeth Zimmerman’s Sewn Casting-Off.
a silk sweater for cooler weather
May 7, 2012

I made this sweater thinking that I would be needing a simple sweater while visiting Thailand. The temperature has been so so hot! I have only used a sweater when traveling in cars, taxis, buses, airplanes, etc. So this sweater is finished, and will probably wait until I am in a slightly cooler climate to be worn.

But it turned out well! I adapted the pattern from a Jo Sharp cardigan that I like. I took out the waist shaping and added a garter border around the front, and ribbing on the bottom.

The yarn is beautiful Silken Straw, by Alchemy yarns. Each strand is made up of many tiny threads pressed together and dyed. When the garment is washed and blocked, the material softens, and takes on a beautiful drape. Each skein is hand dyed, and so there can be a bit of variation from skein to skein. To help balance the color, I kept changing the balls of yarn as I moved from piece to piece.

Also, I knit the back of the sweater using two skeins of yarn at the same time. One for the right side, and one for the left. This created a seam up the middle, and I liked the division of color. It was especially interesting in the upper back when the yarn began to pool in different ways.

purple and blue vest
December 31, 2011

Another vest for my dad. Modeled off of a navy blue zip up vest that he wears all the time. This one is made with three different yarns. A super bulky malabrigo in purples and blues, a worsted weight malabrigo in bright blue, and a lace weight madeline tosh in navy blue. All hand dyed yarns. I just love this particular combination. Both the texture and color combine and contribute to the beauty of the finished material. And knit on size 15 needles, the material knits up quickly, and has a particular firmness that is quite lovely.

The border has a few rows of garter stitch, and then the rest of the vest is stockinette stitch. To edge the front and armholes I picked up stitches (3 out of ever 4) knit a row, and then cast off. Quick, tidy and simple.

My dad chose the purple zipper, and I attempted to sew it into the knitted material. My current method for sewing in zippers is to: 1. pin the zipped up zipper into the sweater/vest. 2. unzip and hand baste the zipper on both sides. 3. machine sew the zipper from the right side of the material, taking care to back-stitch at the beginning and end of the line.

I know that there are different sewing machine feet for sewing in zippers, but I haven’t been able to figure them out yet, so I wrestle through with the normal foot…hoping that I don’t break anything.
mini elf suit
December 20, 2011
My friend has a new grandbaby, and she had the idea to make him a little red and white suit for Christmas. We came up with a super soft yarn (debbie bliss cashmerino aran) held double and knit on size 11 needles. (There isn’t a lot of time to make things this time of year…)

I made a gauge swatch, and cast on 52 stitches. Joined in the round, and ribbed for a few inches. (I cut the bottom later to add a few more inches, and some stripes of white.)

After the ribbing came stockinette stitch, until the snuggly was about the right length.

I switched to 10 1/2 needles and ribbed a few rows to gather the snuggly at the shoulders and neck. No decreases, as I didn’t want the hood to be too small.
Then came the face opening. I cast off a few stitches, and then worked back and forth on the hood, decreasing at the beginning of every other row, and then at the beginning of every third row to shape the hood, and then knit straight until the face opening was the right height. Next I cast on a few stitches, and joined the hood back into the round, and decreased every third row to make the elf hat point. With cream yarn and the 10 1/2 needles I picked up stitches around the face opening and knit a few rows of ribbing. Last but not least was the pom pom for the top of the hood.

The bottom was left open to put the outfit on, although I think that you could add some snaps to keep it closed.
Really quick and easy and snuggly for baby!
pine cone hat
October 27, 2011

This hat is all about texture. The yarn is textured (an unusual knitted cord) and very thick. The hat makes use of the texture of the yarn and knit stitch and is still quite simple.

The little bobbles made by knitting three together and then knitting into the same stitch three times create the pine cone seeds. The stitches swirl in the same way a pine cone might, and the hat is a cute little top to keep a head warm.

There are two sizes in the pattern, and the larger would fit a medium adult head (18″ around), and the small would fit a child (16″ around). For a copy of the pattern, stop in to the store or download here.
Note: please let me know if you have any questions about the pattern. I just finished it and would love any feedback!
warmer hands
October 26, 2011
This is a pattern that we got in at the store this fall. The mitts are easy to make, with simple shaping and cables up the front and back. They are great to wear, and keep hands warm and cozy.

The yarn is Madeline Tosh Merino Light, and is soft and machine washable (which is handy for hand warmers, as they tend to get a little dirty with use).
The mitts are knit on double points. I started using the suggested size two, and moved to a size three as they were just a little too tight. They worked up quite quickly, and with one ball of yarn I was able to knit two pairs and have a little left over!

The thumb shaping is done with left and right leaning increases. The pattern makes a clean line, and the purl edge at the top of the thumb coordinates with the purls at the top and bottom of the mitts.

The nice thing about knitting hand warmers with thin yarn is that they don’t get in the way. I like to be able to use my hands while wearing them, and these fit the bill! They are perfect for morning walks in not too cold weather, playing music outside, and of course more knitting!
orange (red, yellow, pink) sweater
September 22, 2011

This is another orange sweater. One strand of thick yarn, and one strand of thin yarn held together throughout. The thin strand kept changing, from yellow, to pink, to red, and back and forth between. The thick strand stayed orange.

The sweater was knit top down, on size 10 needles. I wanted to use Malabrigo worsted weight yarn for the base, and added a strand of lace weight so that I could use the size 10 needles for the gauge required.
I had been looking at the four colors of yarn in the store for a while, thinking of what to make. I was considering a lace project, and when I realized that I could put the two weights of yarn together it was a perfect plan.
The sweater is knit in reverse stockinette, with garter stitch borders. I liked the effect of the constant change of threads and the more bumpy texture of reverse stockinette. I changed the lace weight yarn every row, or every other row, at random.

The inside of the sweater shows the striping differently, and I managed to tie away all the color changing ends. (Except for in the sleeves, where all the little lace weight ends are flailing around…)

The side “seams” were created by a row of stockinette, and add a nice little touch.

All together a very simple sweater, and worked up quickly, with the big needles.
teal sweater day sixteen
March 4, 2011

teal sweater day fifteen
March 3, 2011

