canning everything in the fridge
August 5, 2013

Saturday I had a run in with some fruit at the farmer’s market and ended up with more than could fit in my smallish fridge.
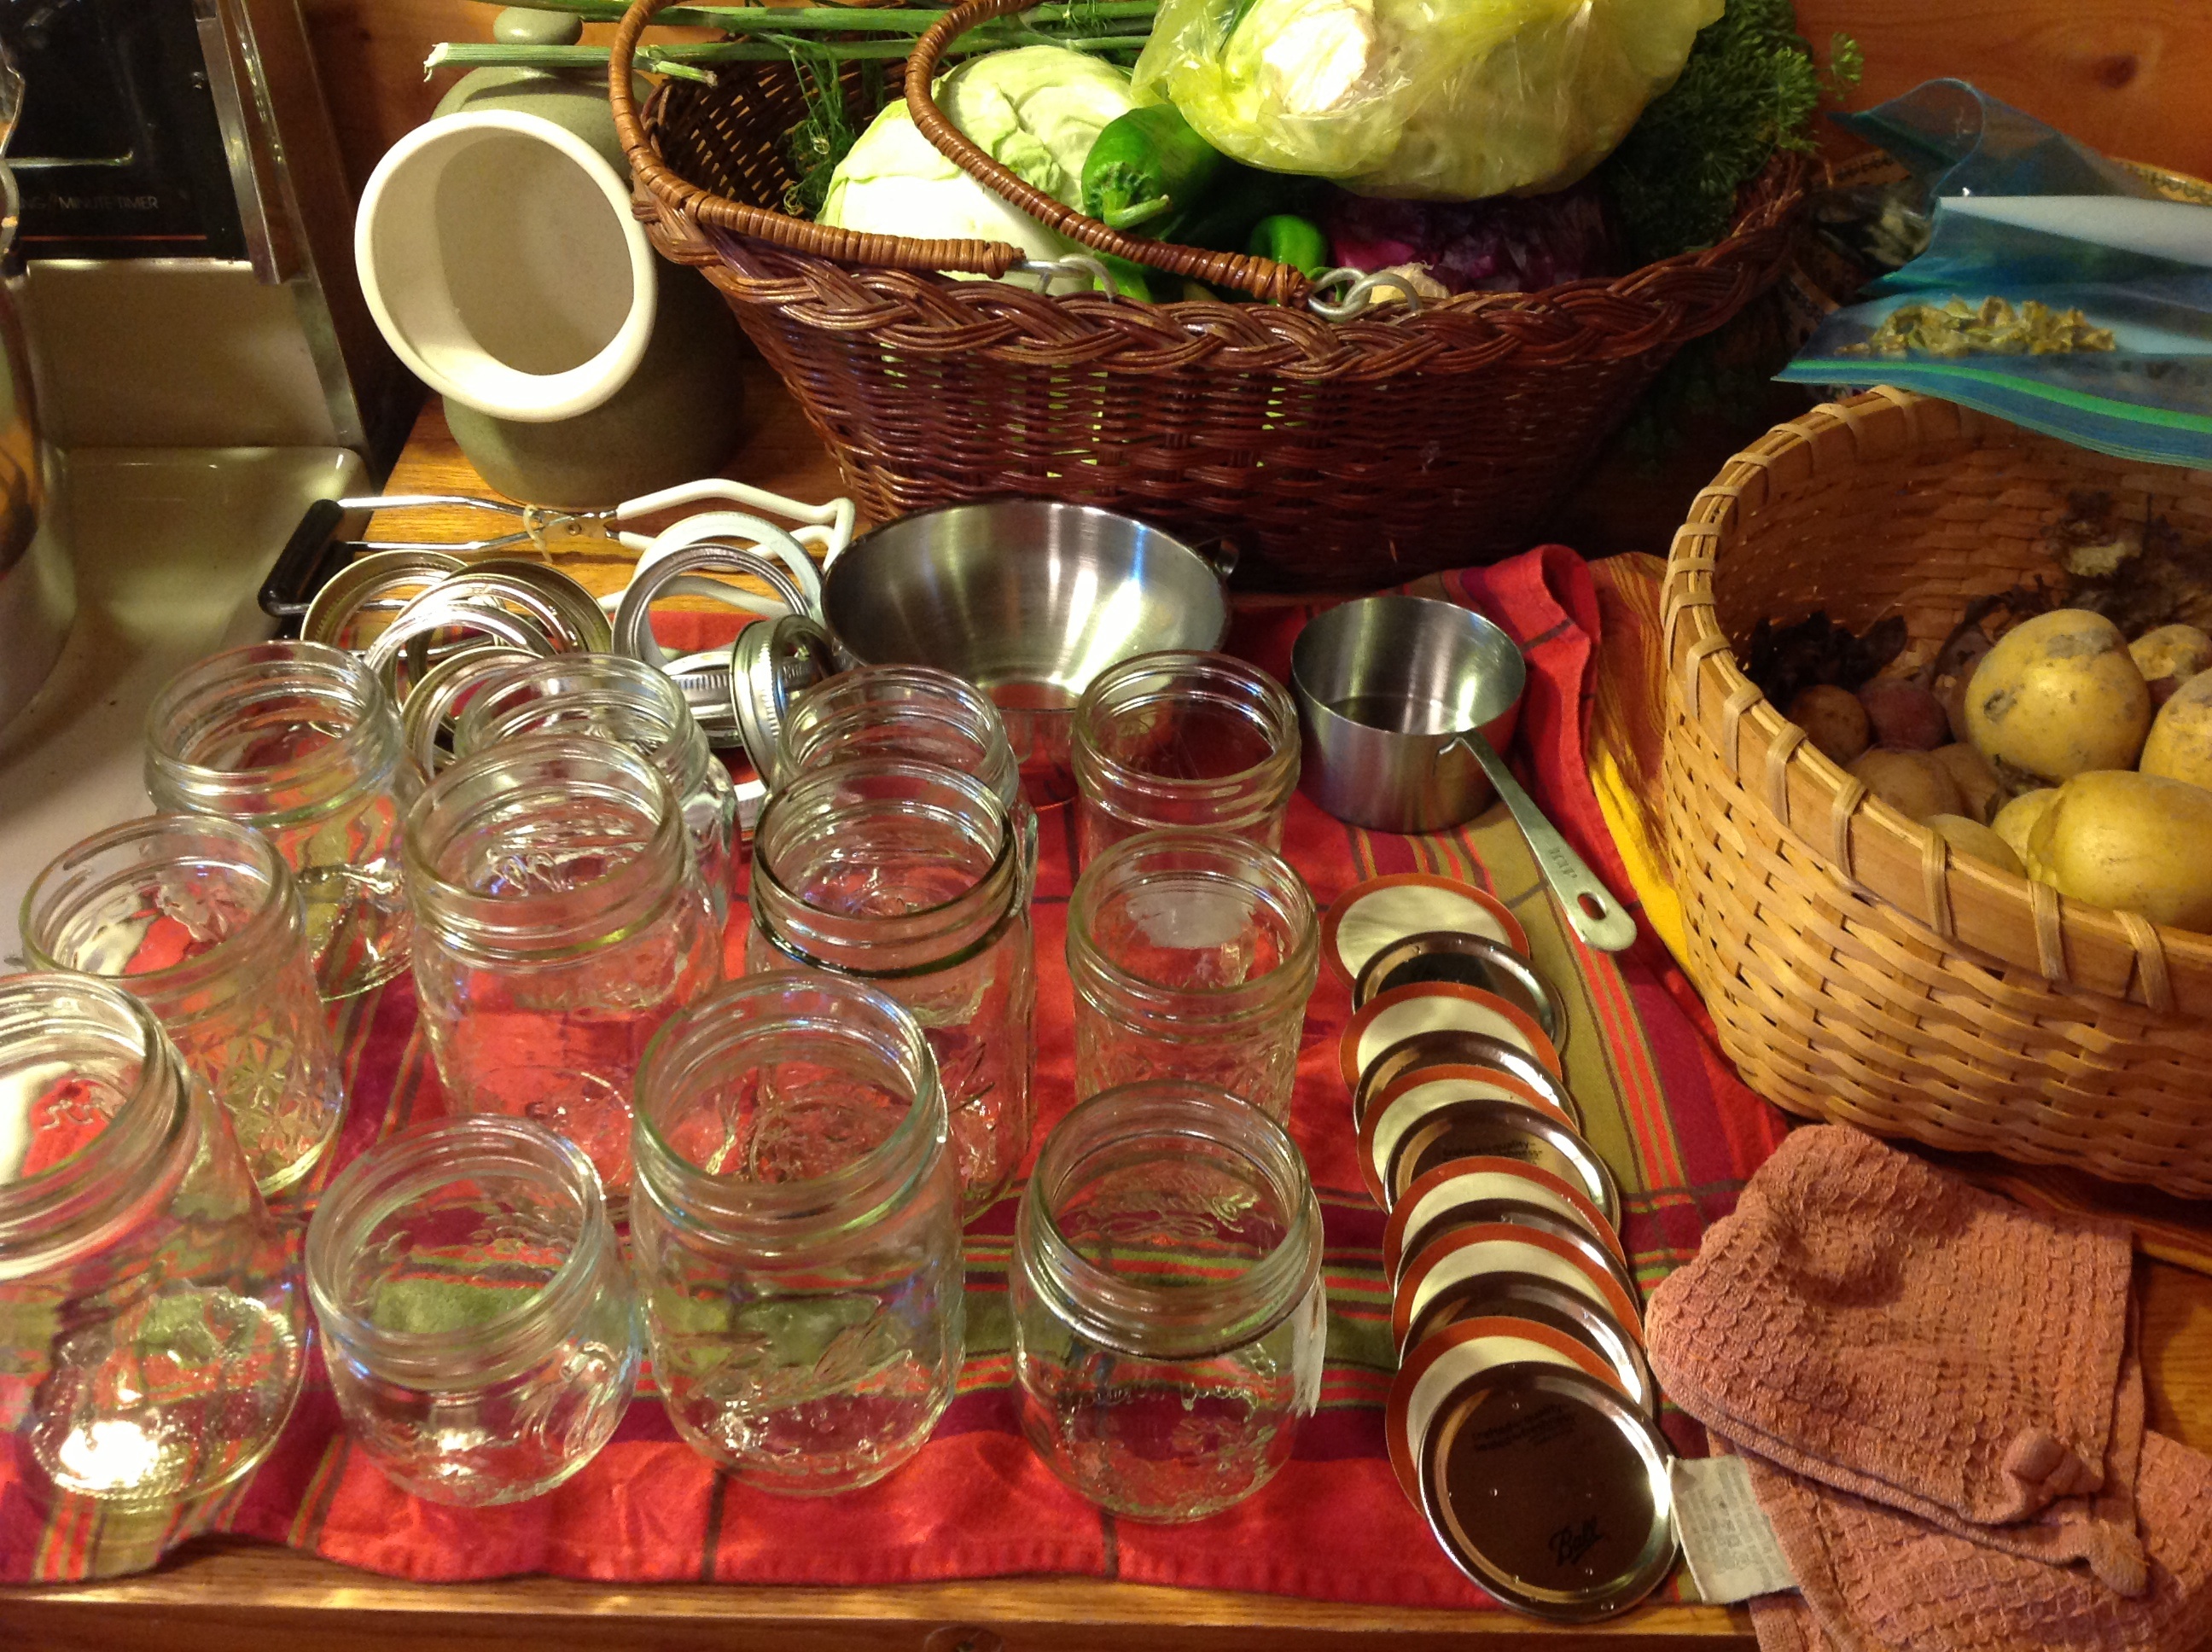
I found some blueberries, and some lovely ripe yellow apples. I set the apples on the counter in a bowl, and my house started smelling like September…time to throw everything in the pot to jar and fill the pantry.

I mixed blueberries, a package of frozen dewberries, apples, and the juice and zest of two lemons. I added some sugar, but not too much. I simmered the whole thing for about 20 minutes or so, and then let it sit for a few hours. Then I reheated it, and processed the jars in a hot water bath. 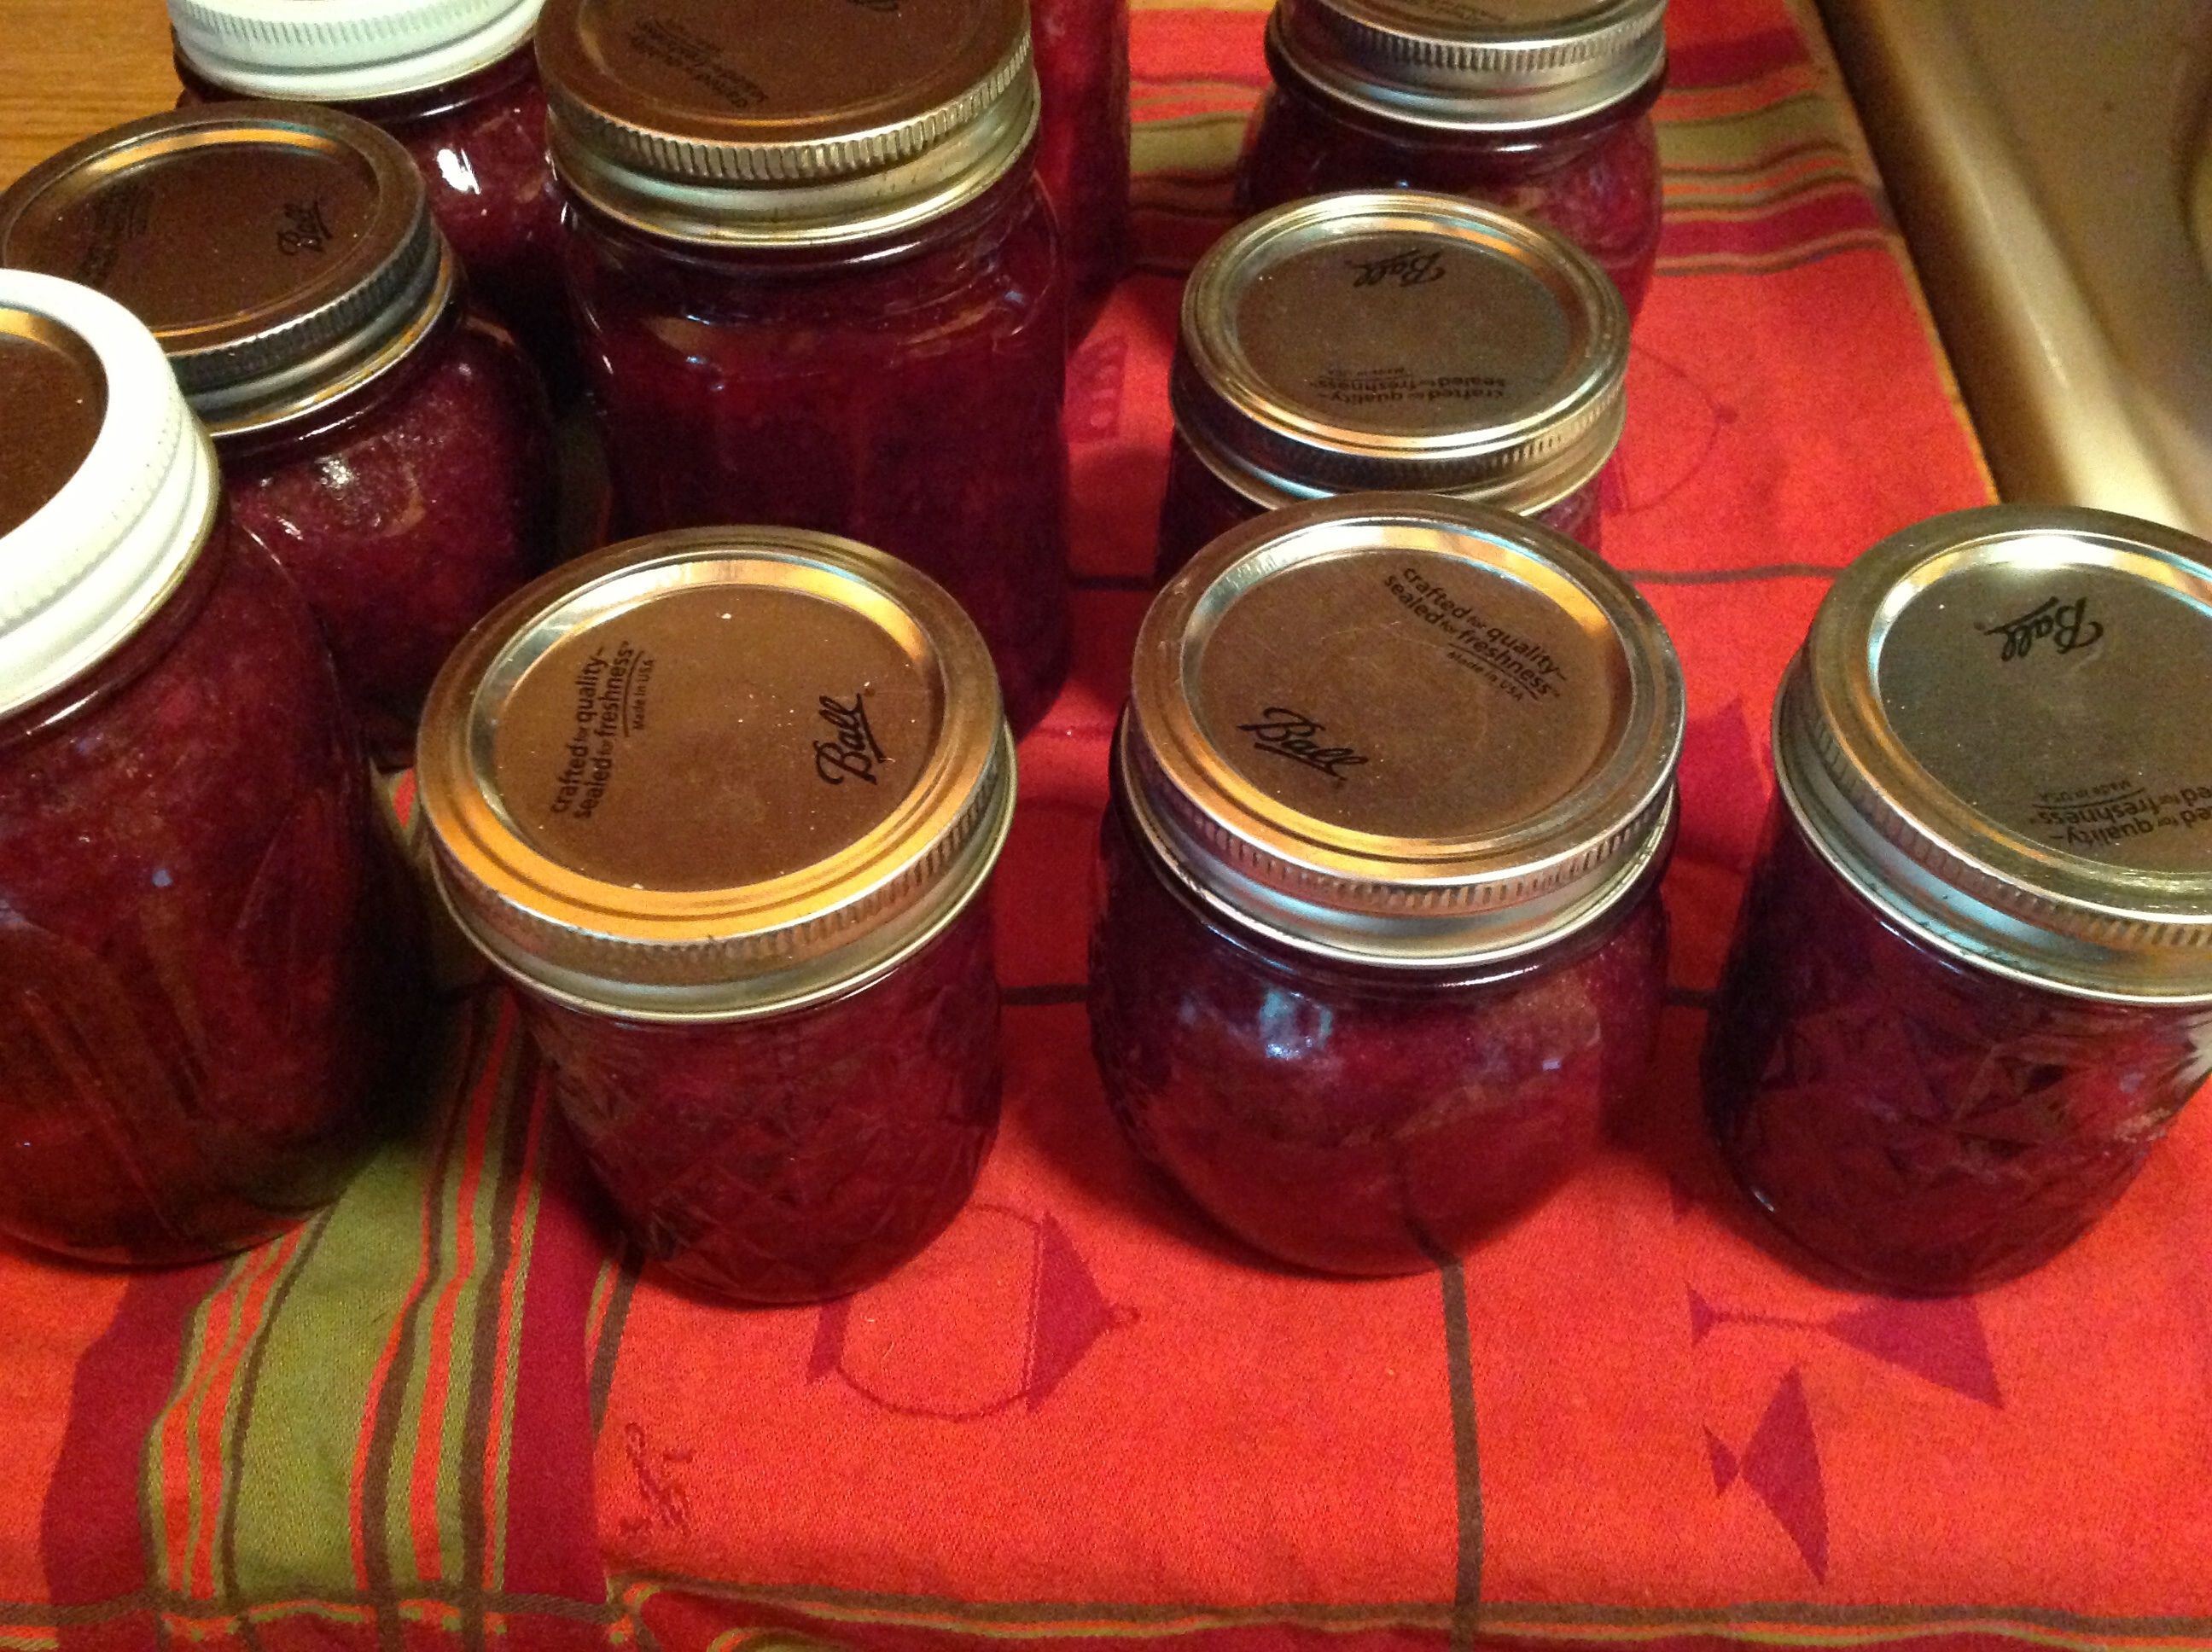
I am planning on making fruit tarts with pastry cream in the fall and winter. Nothing like opening a can of fruit dump pouring it into a pie shell and calling it homemade. Very easy later on down the line.
honey, pears, and yeast!
November 13, 2010
A few months ago I had an excess of pears and apples, and an interest in making mead. My friend Brenda makes mead, and it is quite yummy! I called her up, and she sent me a box of supplies right away!!
The steps are simple, but they do need to be followed precisely. Sterilize everything within an inch of its life, except for the fruit peels, which contain natural yeasts. Chop up the fruit (I used apples and pears in one batch and pears and lemons in the other), mix with yeast, and stir in a plastic fermenting bucket. Then cap it with an air lock, and let it ferment. I left my bucket in the basement for about 2 months. (No pictures of the first steps…)
Yesterday it was time to start the second step. The racking process. It is my understanding that this process is to rid the mead of sediments. It is done initially to get rid of the fruits, etc., and can be done again at a later time to remove more sediments.
Step one was of course again to sterilize everything! I washed my plastic tubing, my airlocks, a big spoon for scooping out the fruit, and of course, two new glass gallon jugs.

Then it was time to open the fermenting buckets. The smell was sharp and a little yeasty, but not unpleasant. I carefully scooped out all the fruit, which had sparkly consistency, almost carbonated. There were a few quite rotten looking pieces, but mostly they looked okay.

Next step was to set up the siphoning system. Very simple and effective workings of a plastic tube. I placed the bucket on the counter, and the empty glass jug on the floor, and siphoned the honey colored mead from the top bucket to the bottom. Everything worked well, until I managed to overfill my jar and spill mead all over the floor…

Now the mead is safely in glass fermenting jars, with airlocks in place. Back to the basement for another 6 (or 8, or 10?) months until the mead is ready to be bottled! I tasted the mead as I was siphoning, and it was actually rather pleasant. And the rich honey color of the liquid is lovely to look at!
40 days and counting
November 7, 2010

I was talking to my friend Emily a few days ago and we started discussing baking, and Christmas break, and I remembered that I needed to start another batch of grapefruit wine. I made (and blogged about) this recipe last year, and it turned out so well that I decided to make it again.

It is a recipe from Saving the Season, and originates in Southern France. It is a simple recipe. Place sugar in the bottom of several very large glass jars. Layer fruit on top, pressing down a bit as you go.

Add a little bit of chamomile and vanilla, and top with vodka and wine. Then let it sit for about 4o days before straining into bottles. The jars are mixed a bit and topped off during the first week.

This recipe makes me want to live near citrus trees so badly!!!
green tomato chutney
October 3, 2010
When a recipe calls for 6 pounds of something, I need to realize that it will be big. Now I have a lot of jars of green tomato chutney. Cooked with apples, peppers, brown sugar, red wine vinegar, cumin, hot pepper, and clove.

I started out by slicing and x in the bottom of each tomato. Then I dropped them into boiling water so that the skins would come off easily. They didn’t. If anyone has any tips for removing the skins of green tomatoes, please let me know. I ended up leaving lots of skins on, especially on the tiny ones…I just didn’t have the patience.

While the tomatoes were draining with salt, I prepared the remaining ingredients. Apples, onions, shallots, and garlic. To this mixture I added the tomatoes, red wine vinegar, and salt.

And cooked, stirring frequently for about 45 minutes. Meanwhile, I ground up the spices:cloves, cumin, dried peppers, and yellow mustard powder. I added the spices, to the bubbling chutney, along with sugar, black currants, and more vinegar.

Then I cooked the mixture down and down. For quite a while longer. Til all the color was cooked out…and then jarred it.

three types of crab
September 25, 2010

When I told my mom the other day that I was going to make crab apple jelly, her response was that I could make crab apple syrup by stirring my finger around in sugar water. Hrmph!
I went out and picked some crab apples anyways (with my friend Ayni!), and we brought them home, peeled them, and processed them for jelly. We were debating quite a bit as to whether we should make jam or jelly, or butter, or sauce. I am not too much fan of jelly, as I like the fruit in the product. Most of the recipes that I saw for crab apples however were for jelly, so I decided at least once I would have to make it.

We picked a lot of apples, and had quite a pot of juice after straining the fruit. I split up the juice and sugar into three pots, and added some thyme to one, some rosemary to the second pot, and left the third one plain. Then I set out to boil the liquid (sugar, herbs, and fruit) until the fruit set. I boiled the plain version way too long, and the resulting jelly was rather clumpy.

The thyme jelly was boiled a little bit less (but still too much) and wast moderately clumpy. The rosemary was boiled just right, resluting in a firm-ish looking jelly, with a bit of jiggle to it.
Also, I squeezed the juice bag as I was extracting the juice (NOT RECOMMENDED for state fair competition jellies) so my jelly is cloudy. But I didn’t have to wait for 8-12 hours for all the juice to slowly drip out…

These jars of jam are intended for use with my dad’s savory herb cheese biscuits. I am imagining a layer of butter, and then a thin spread of herbed crab apple jelly!
sweet peaches and sour cherries
August 17, 2010

The weather has cooled off (relatively speaking), I have a box of ripe peaches in my kitchen, and a bag of this year’s pitted sour cherries in my freezer. Pie time!

I picked up a box of butter on my way home from work, and made up a double batch of pie dough. (I like to bake my pies in twos. When you go to all the trouble to bake a pie, might as well make another one…) For the filling, I used about 8 medium-sized peaches and one bag (about 6 cups of pitted cherries). I dropped the peaches in boiling water to skin, and sliced into wedges. I added about 1 1/4 cups sugar for both pies, and a bit of flour as the cherries were very juicy. And dotted the top of the fruit with a few tablespoons of butter.

I kept the tops covered, as opposed to lattice, as I have been doing a lot of crisscrossed tops lately and I wanted a change. I folded the tops and dough over, leaving a generous crust edge, which didn’t end up browning too much in the oven.

just peachy
August 16, 2010

Kathy and I canned peaches today. When you can peaches, it seems like you have to can a lot. We picked up a 3/4 bushel box from the store (no peaches on my tree yet…) and canned quite a few (but not the entire box!).
Canning peaches involve lots of hot things.

Boiling water to slip off the peels.
Slicing the hot peaches and removing their pits.

Simmering sugar syrup for preserving the peaches.
Hot peaches into little jars.

Boiling jars.
Removing boiled jars from the boiling water…
Makes for a bit of time on your toes, in the kitchen with a lot of heat. Today was a perfect canning day though. A little breeze, sunshine, and, well, perfect. We successfully canned the peaches without incident. And made a little peach syrup as an afterthought!
too much fruit, too little time..
August 5, 2010
I ran home this afternoon with a brown paper bag filled with peaches to a fridge filled with blueberries (okay, not filled but containing blueberries). I had a few minutes, and wanted to put the fruits together into a baked something. It is too hot right now for me to bake a pie (my kitchen isn’t air-conditioned, and that makes for a wimpy crust, and lots of frustration), so I went for a cobbler.

It is important to peel peaches, and to do so, I dropped them into boiling water for 30 seconds (as per mother’s instructions!). The peels come off very easily after the quick blanch. Then I sliced the peaches and added the blueberries, sugar, a lot of butter and a squeeze of lime to the pans. I put the pans into the oven and let the fruit cook for about 20 minutes. While the fruit was cooking, I made a biscuit topping with cream, butter, flour, sour milk, etc. I topped the baking fruits with spoonfuls of biscuit batter and popped everything back in the oven to finish cooking.

The finished cobblers were really runny right after I took the out of the oven. I was taking them into town with me, and every curve, pothole, and stop sign made the juices come close to dripping out of the pans. I used pie pans, and I think that it would probably be better to use casserole pans to contain the juices.

After the cobblers sat for a while, the top crust soaked up a lot of the juice, and the desserts were a lovely balance of fruit, crust and juice.
sweet plums and sticky plum juice
July 31, 2010

My friend Mary has a sweet red plum tree. I stopped by this morning, and we rigged a ladder in the bed of her little cart thingy, and picked most of the ripe plums off the tree. Now to the preservation of these delicious morsels!

I decided to make two different batches of jam to test different methods for pitting the plums. For the first batch, I placed the whole plums directly into the pot. I added a little water, and cooked them until the pits came away from the fruit. I put the entire mess into a food mill, and removed the pits and peels. It was a little bit too tricky to remove just the pits, so the peels went too. I would have preferred to leave the peels in though.

I cooked the resulting puree with sugar, and jarred it as usual. It was a bit thin, so I let it cook down for a while.
The jam has a bit of a sharp taste which I think is from cooking the fruit with the pits. There seems to be a bit of sourness surrounding the pits of plums, too, which carried across in this jam. It is good, but maybe not my favorite. Tomorrow I am going to make the second batch of jam, with pitted fruit this time!

when in minneapolis, pick blueberries
July 18, 2010

I drove up to visit Swati in Minnesota last night. Just about the first thing we did Saturday morning was go and pick blueberries. We wanted to bake a pie, and figured that we should use what was fresh and pick-able.

We got to the berry patch around ten, and apparently it was a busy day, and we were late! Fortunately they found us a row to pick berries, and we got going. We noticed that there were more berries on the bushes to either side of us. After we finished our row, we went back to the house to ask for another one, and they said there weren’t any, and to look in our row for more berries…we took the opportunity to jump a few rows over and RAID.
We got a lot more berries that way, browsing the vacant rows.

When we got home, we promptly ate berries with cream. Then we baked a pie.

We ate pie for dessert, then for breakfast. With vanilla ice cream.
![]()
